Understanding On-Site Videography
The Concept and Importance of On-Site Videography
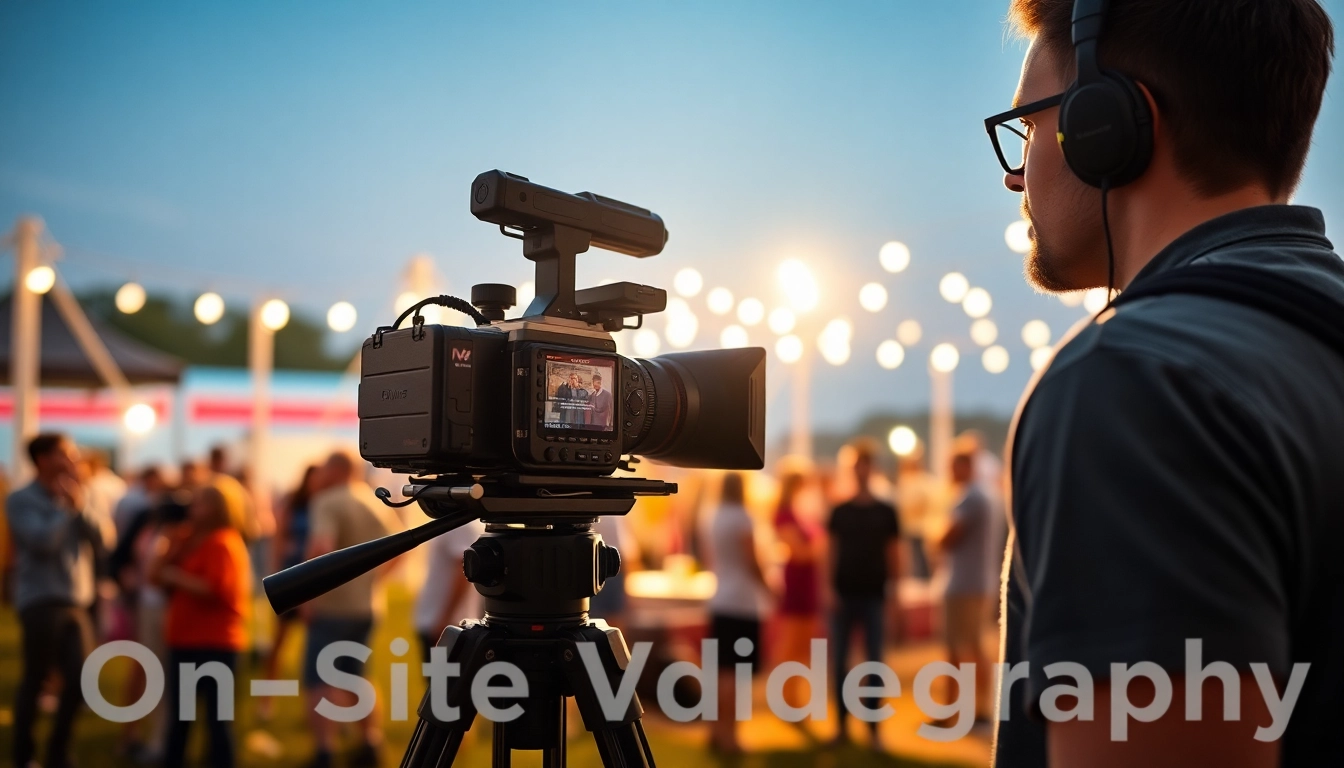
On-site videography refers to the practice of capturing video content at a specified location rather than in a studio environment. This method enables filmmakers to harness real-world settings, providing authenticity and context that enriches the viewer’s experience. Increasingly essential for various sectors such as marketing, training, and documentation, On-Site Videography allows businesses to create compelling narratives that resonate with their target audiences. It enhances brand storytelling by visually demonstrating services, products, and experiences in a relatable manner.
The importance of on-site videography lies in its ability to convey emotions, narratives, and messages more effectively than text alone. It’s a dynamic medium used for everything from documenting events to producing educational content. The flexibility it offers empowers videographers to capture the essence of moments as they happen, making it an invaluable tool in today’s content-driven landscape.
Key Equipment for Successful On-Site Videography
Successful on-site videography relies on a well-curated selection of equipment that complements the environment and desired output. Key equipment includes:
- Cameras: High-definition cameras, such as DSLRs or mirrorless models, provide the quality needed for professional production.
- Tripods and Stabilizers: Stabilization gear is crucial for steady shots, particularly in dynamic environments.
- Microphones: Quality audio captures essential dialogue and ambient sounds, with options like lavalier and shotgun microphones suitable for various scenarios.
- Lighting Equipment: Portable lighting kits or reflectors can enhance the visual quality, ensuring subjects are well-lit, regardless of natural lighting conditions.
- Editing Software: Post-production tools help in enhancing the final product through cutting, color grading, and sound editing.
Investing in the right equipment not only maximizes production quality but also streamlines the filming process, ensuring that on-site videographers can deliver compelling narratives without technical hindrances.
Real-World Applications of On-Site Videography
The applications of on-site videography are extensive and diverse. Here are some practical examples:
- Corporate Training: Companies utilize on-site videography to capture training sessions, providing a visual resource that can be shared with employees who were unable to attend.
- Event Coverage: From weddings to corporate events, capturing these occasions in real-time allows for the production of memorable highlight reels.
- Marketing and Advertising: Businesses leverage on-site videos to showcase their products or services in action, enhancing promotional strategies through storytelling.
- Documentary Filmmaking: On-site footage aids in creating documentaries that explore real-life stories, environments, and cultures with depth and authenticity.
- Interviews and Testimonials: Capturing customer experiences or expert opinions on-site lends credibility in marketing campaigns.
These real-world applications demonstrate how on-site videography can effectively communicate stories and information across various fields, strengthening connections with audiences.
Planning Your On-Site Videography Strategy
Defining Your Objectives and Target Audience
Before embarking on any on-site videography project, it is crucial to outline clear objectives. What message do you intend to convey? Who is your audience? Defining these elements ensures that the finished product aligns with your strategic goals, whether they involve increasing brand awareness, educating employees, or enticing potential customers.
Understanding your target audience informs decisions about content style, tone, and delivery methods. Tailoring your message and visuals to suit their expectations enhances engagement and interactivity, leading to a more effective communication strategy.
Location Scouting: Factors to Consider
Choosing the right location is vital for successful on-site videography. Various factors should influence this decision:
- Accessibility: Ensure the location is easy to access for all team members and equipment. Consider transportation and parking availability.
- Permissions: Verify whether any permits or permissions are needed to film at your chosen location, especially for public spaces.
- Lighting: Observe natural light patterns across different times of day. Locations with ample natural light are often preferred, although supplementary lighting can be brought in.
- Aesthetics: The visual appeal and thematic suitability of the location should align with your project goals. Choose locations that either enhance or appropriately contrast with the subject matter.
- Sound Quality: Be aware of background noise potential. Environments with minimal distractions will offer clearer audio quality.
Investing time in thorough location scouting leads to exceptional results, as the right setting can significantly impact the overall production quality.
Developing a Shooting Schedule for On-Site Videography
A well-structured shooting schedule serves as a roadmap for your project. It should detail the timeline for each segment of the shoot, allocating time for setup, actual filming, and breaks. A comprehensive schedule allows for seamless operation and dramatically reduces the likelihood of unforeseen challenges during filming.
Consider the following when drafting a shooting schedule:
- Time of Day: Schedule shoots based on the lighting conditions that can enhance the visual appeal of your footage.
- Segment Planning: Break down the entire shoot into smaller, manageable segments. This makes it easier to track progress and make adjustments.
- Contingencies: Always plan for potential delays or issues. Build in buffer time to accommodate unforeseen circumstances, such as equipment malfunction or adverse weather.
A detailed shooting schedule not only improves organization but also enhances teamwork by clearly communicating roles and responsibilities among crew members.
Techniques for Effective On-Site Videography
Lighting Best Practices for On-Site Videography
Lighting is one of the most critical aspects of videography. The right lighting setup can elevate the quality of your footage dramatically. Here are some best practices for achieving excellent lighting results:
- Utilize Natural Light: Whenever possible, take advantage of natural light sources. Outdoor shoots can leverage sunlight for dynamic visuals.
- Use Reflectors: Reflectors help bounce light to illuminate darker areas, providing a balanced and pleasing exposure.
- Implement Artificial Lighting: When natural light is insufficient, portable LED panels or softbox lights can be set up for directed illumination, ensuring subjects are well-lit.
- Keep it Consistent: Consistency in lighting can prevent distractions. Avoid mixing different lighting sources, which can lead to color discrepancies.
Mastering lighting techniques sets a solid foundation for creating visually appealing content that engages viewers and enhances the narrative.
Sound Capture Techniques: Ensuring Quality Audio
High-quality audio is just as important, if not more so than video quality. To achieve great sound, consider implementing the following techniques:
- Use Quality Microphones: Invest in good-quality microphones appropriate for the situation, whether lavalier mics for interviews or shotgun mics for capturing directional sound.
- Monitor Audio Levels: Always have headphones on hand for real-time monitoring of audio levels to avoid distortion or unexpected gaps in sound.
- Reduce Background Noise: Choose quieter filming locations to minimize unwanted background sounds that can detract from the subject matter.
- Record Room Tone: Capture additional ambient sounds in the filming location— this can be useful for sound mixing during post-production.
Prioritizing sound quality creates a more immersive experience for viewers, solidifying the impact of your video content.
Engaging Storytelling through On-Site Videography
The heart of impactful videography lies in its narrative. Capturing footage is just a part of the process; effectively telling a story is what truly resonates with the audience. Here are key aspects to consider:
- Establish a Clear Narrative Arc: Every video should have a beginning, middle, and end. Introduce the topic, delve into the substance, and conclude with a strong takeaway.
- Emphasize Visual Storytelling: Use visuals to articulate the narrative. Show, don’t just tell; let the footage portray the emotions and messages inherent in the story.
- Incorporate B-Roll: Supplementary footage (B-roll) enhances storytelling by providing context and depth, helping to convey the narrative beyond mere dialogue.
- Engage with Real-life Experiences: Featuring real people and their stories builds authenticity and relatability, making the narrative more compelling.
Engaging storytelling will keep viewers connected and invested, significantly enhancing the impact of your on-site videography.
Editing and Post-Production for On-Site Videography
Choosing the Right Editing Software
The editing phase is where all the raw footage transforms into a polished, excellent final product. Selecting the right editing software is crucial. Consider software options based on:
- User-Friendliness: Opt for editing platforms that match your skill level, allowing you to efficiently execute necessary edits without hinderance.
- Available Features: Look for editing software that offers essential tools for cutting, transitions, audio mixing, and color correction to elevate your video’s visual quality.
- Exporting Options: Ensure the software supports exporting in various formats to suit different platforms where your video will be published.
Smooth post-production processes hinge on having the right tools at your disposal, making careful selection vital for success.
Basic Editing Techniques for Enhanced Results
Once the editing software is selected, employing effective editing techniques can drastically enhance your video. Here are some fundamental tips:
- Trim Excess Footage: Keep your video concise by cutting out unnecessary segments, ensuring the narrative flows cohesively.
- Apply Transition Effects: Use transitions judiciously; a well-placed transition can enhance storytelling without distracting from the content.
- Color Grading: Adjust colors to create an atmosphere that complements your narrative and resonates with the target audience.
- Audio Synchronization: Ensure that audio and video are perfectly in sync, as a mismatch can detract from professional grading.
Applying these techniques contributes to a refined product that maintains viewer engagement and amplifies the video’s message.
Creating a Compelling Narrative from Your Footage
A compelling narrative hinges on the careful assembly of selected shots. Crafting a coherent story involves:
- Storyboarding: Outline scenes prior to editing to visualize the flow and ensure logical progression.
- Editing for Pacing: Adjust the pacing of cuts to maintain viewer interest. This includes varying shot lengths based on the emotional weight of the content.
- Highlighting Key Moments: Focus on critical moments in the footage that encapsulate the essence of the message being conveyed.
Creating a compelling narrative through editing transforms raw footage into engaging content that captivates audiences and effectively communicates its intended message.
Measuring Success: The Impact of On-Site Videography
Evaluating Audience Engagement Metrics
Once your video is released, it’s crucial to assess its success through audience engagement metrics. Key indicators include:
- View Count: Tracking how many views your video garners can give insight into how well it resonates with audiences.
- Watch Time: Analyze how long viewers stay engaged with your content to identify whether it holds their attention or where drop-off points are.
- Engagement Rate: Comments, shares, and likes are excellent indicators of audience interaction and approval.
Monitoring these metrics will allow you to gather insights and make informed adjustments for future video projects.
Best Practices for Distribution of On-Site Videography
Effective distribution strategies are essential for maximizing the reach and impact of your on-site videography. Consider the following best practices:
- Optimize for SEO: Include relevant keywords in your video title, description, and tags to improve visibility on search engines and platforms.
- Leverage Social Media: Utilize social media channels to promote the video, tailoring your messaging for each platform to maximize engagement.
- Embed in Websites: Increase viewer accessibility by embedding videos on your website, enhancing the overall content experience.
Thoughtful distribution creates a greater potential for increased reach and viewer engagement, more effectively conveying your intended message.
Gathering Feedback for Continuous Improvement
Feedback is an invaluable resource for refining your videography strategies. Consider gathering input through:
- Surveys: Use post-viewing surveys to gain insights into what the audience loved or areas for improvement.
- Engagement Analytics: Review analytical data to identify what elements of the video maintained viewer interest or led to disengagement.
- Peer Review: Circulating videos among colleagues for honest assessment can uncover perspectives that may be overlooked.
By continually soliciting feedback and implementing changes, you create a cycle of improvement that will bolster the success of future on-site videography projects.